Gashapon Capsule Station
When I went to Japan I was fascinated with the attention to detail on some of the experiences. Getting money out of a 7-11 ATM felt like I was winning my own money from a slot machine. The lighting, sound effects, and overall presentation were so satisfying.
This deference to experience is also true when buying toys from coin-operated machines. Part of the experience of getting the toy is dropping in the coins, turning the crank, and hearing the toy chunk down the chute. Bandai makes a Capsule Station that are seemingly on every block in Tokyo. At some places, like Yamashiroya outside Ueno Station, you’ll find huge banks of dozens of machines. I brought my cat a nice hat from one such machine, but he didn’t really appreciate it.
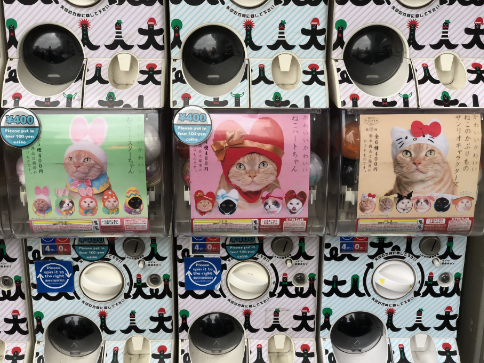
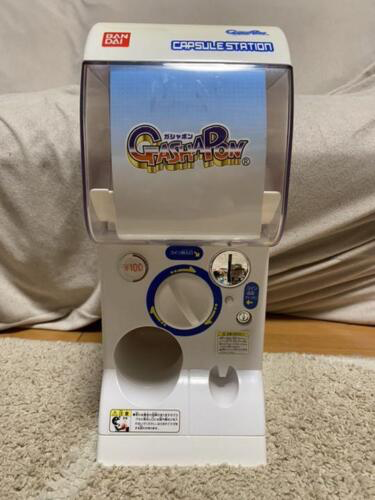
When I was working at very very spaceship I was interested in the idea of giving studio visitors a souvenir. I think souvenirs can be powerful. When coupled with experiences, they serve as a vessel for the memories of the experience. Do you have any objects around you that take you back to a place when you look at them? I wanted to build something that doled out an object like this, but also did it in a whimsical way. The first step was to learn enough Japanese to import a full-size Bandai Capsule Station. It’s easy to accidentally buy a smaller version.
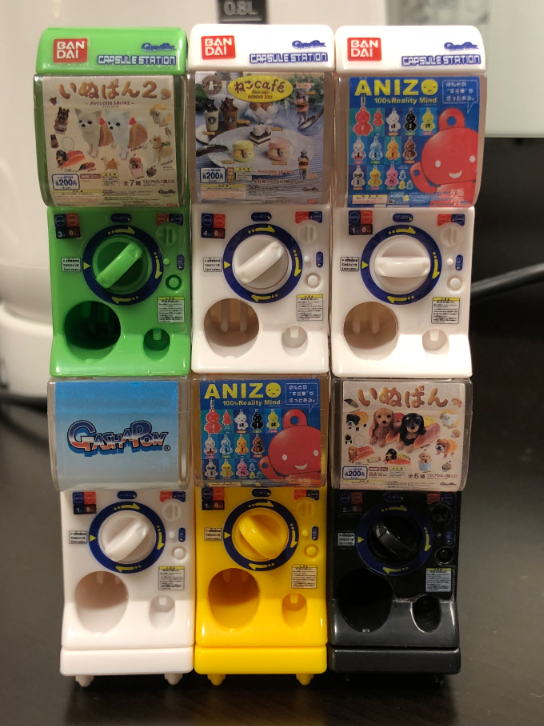
You can even get miniature capsule stations from the big ones. They even dispense mini capsules with the same satisfying gacha-gacha sound and feeling.
After trawling through many eBay scams of people selling a smaller version for hundreds of dollars, I found the real deal on Rakuten. Rakuten required an address in Japan. Luckily some forwarding services exist and I was able to use Buyee and within a few weeks this beautiful object appeared on my doorstep.
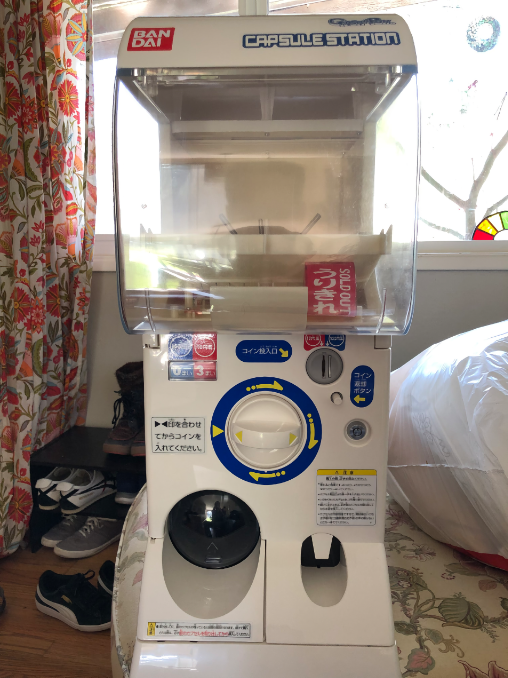
Capsule Stations are carefully engineered to be low maintenance, robust to tampering, and quick to service. The units are purely mechanical, no electricity required. Dumping in a bucket of capsules and then pulling out the coin tray can all be done very quickly. Units can be lashed together securely to create large banks. The price can be set by rotating two barrels—one for 100s and one for 10s—and then sliding a pin up or down the internal coin mechanism. If only one denomination is used, there are plastic fillers to close off the other coin slot. The entire internal coin mechanism can snap in and out in seconds. I’d guess this is the most common point of failure as it’s the most complicated piece. When the last capsule has been sold, a sold out sign falls down and obscures the coin slot.
After finishing the inspection, I wanted to give it a paint job and stick some electronics in it. My friend Galen Drew is a skilled artist who led the way on the paint job. First step was to prep it for paint.
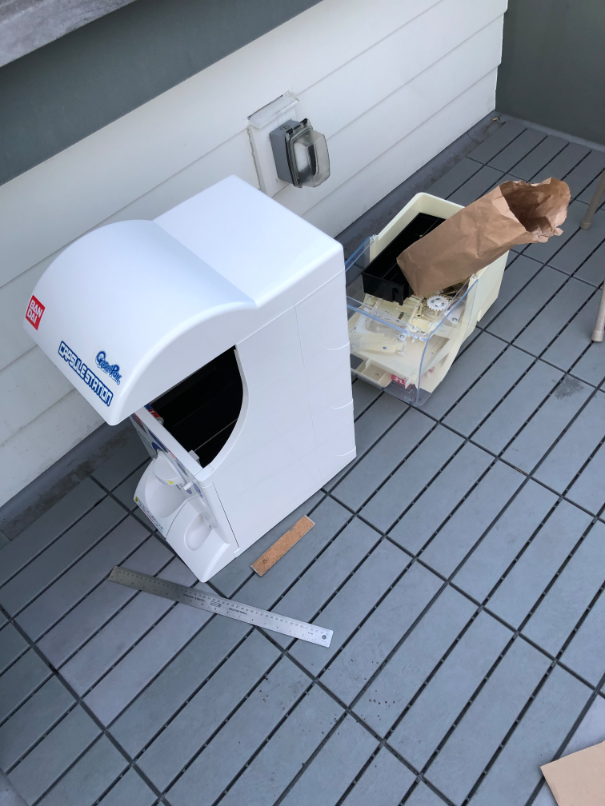
We decided to put 宇宙船 (spaceship) down the side and add kind of a caution paint job on the bottom plate. If you make a bank of Capsule Stations, that bottom plate and the top lid are removed and the machines fit together directly. If you look up a few pictures at the miniature Capsule Stations, they even work the same way!
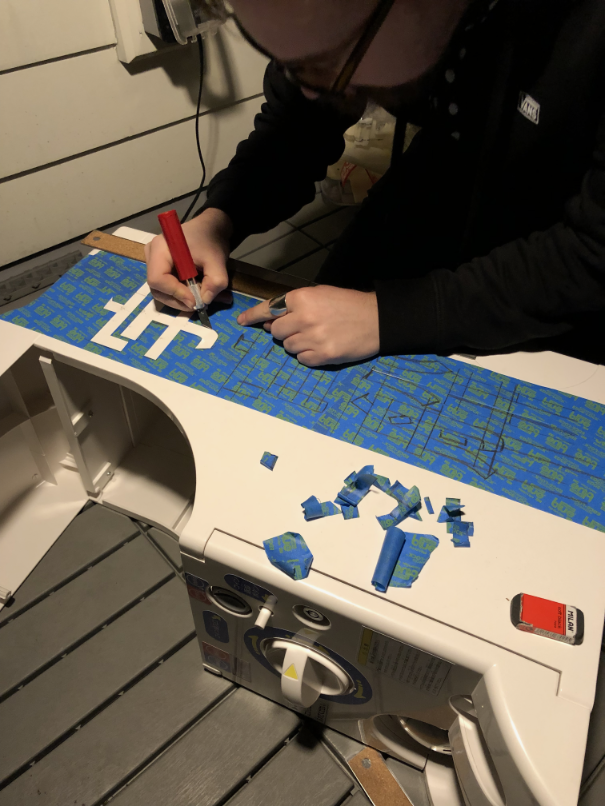
After spray painting and removing the painter’s tape mask, it looked pretty good!
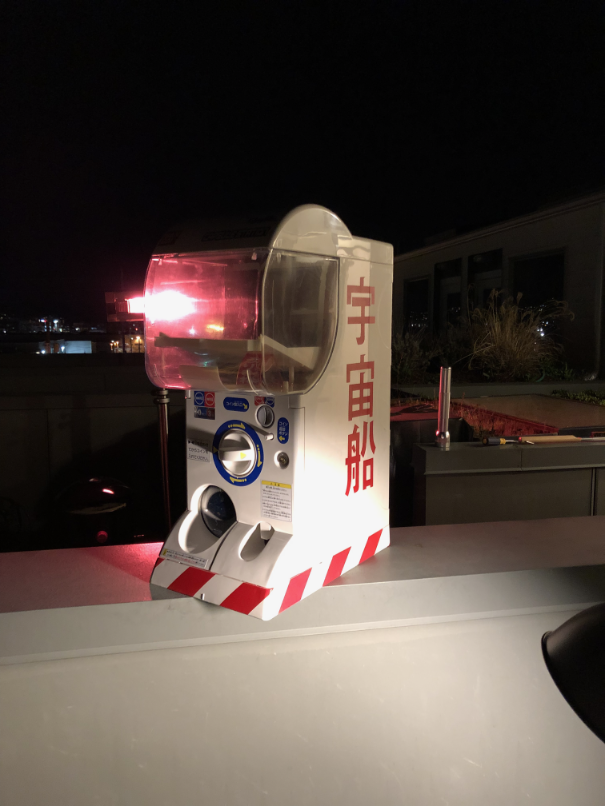
With the paint job finished, it was time to start thinking about electronics. I like the Raspberry Pi platform because GPIO is easy and you can do higher level things like connect to wifi and make web requests or host a node.js server within Raspbian OS. I figured I would have lights, some switches, some audio playback, and maybe another sensor.
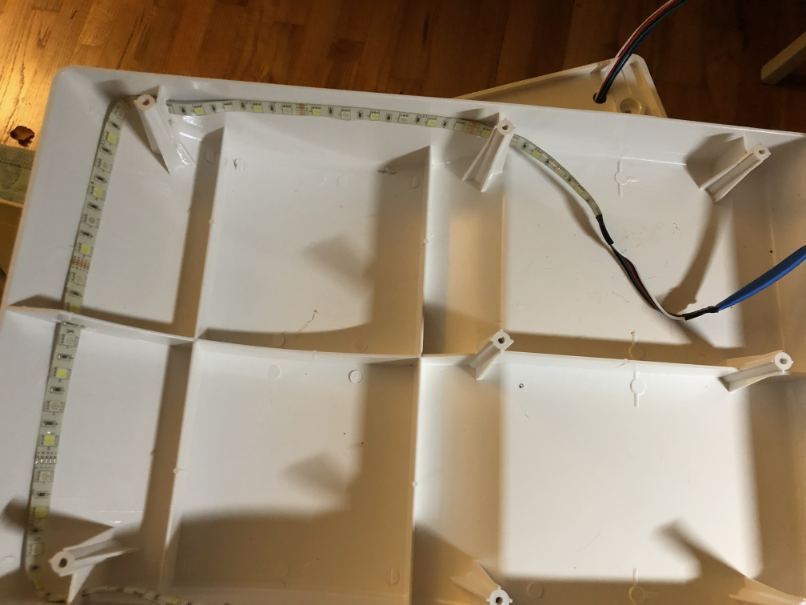
To get started, I tacked in some LED strips to see how it would end up looking. Notice the wires coming out of the top at the back… routing wires was going to be a pain, but at least now I knew the end result would look nice.
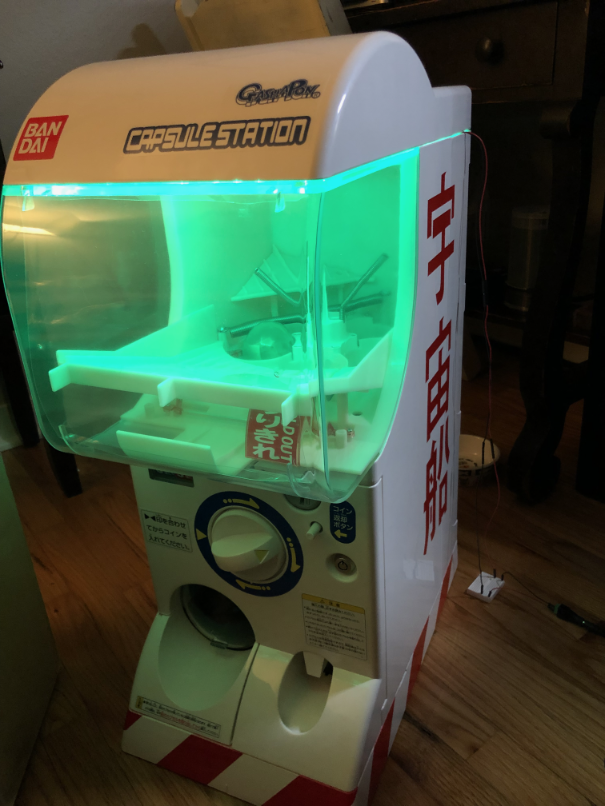
After I understood how the LED strips would fit, I went in with a dremel and a drill to route out the plastic to give the lights and the wires the space they needed. I had to drill a hole through the top of the main body because all the electronics would meet in the (luckily) spacious cabinet below.
With the lights in place, I decided to move on to inputs. I wanted the machine to react to you in a few ways. As you approached, I wanted it to come alive. When you put in coins and when you retrieved your capsule, I wanted some feedback. I found some nice micro switches so it was mainly a matter of securely mounting the switches and then routing wires to the Raspberry Pi. The capsule door switch ended up super simple due to the existing door mechanism.
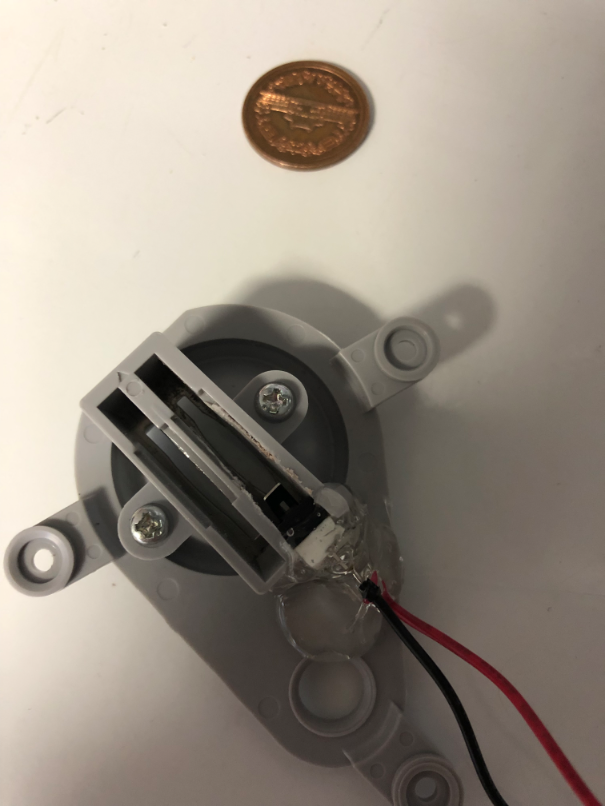
The coin slot switch required major dremel surgery. It felt pretty high stakes because I wasn’t sure how to replace it if I broke it. I think the slight bow of the slot from the switch causes more coin jams in my machine than unmodified ones.
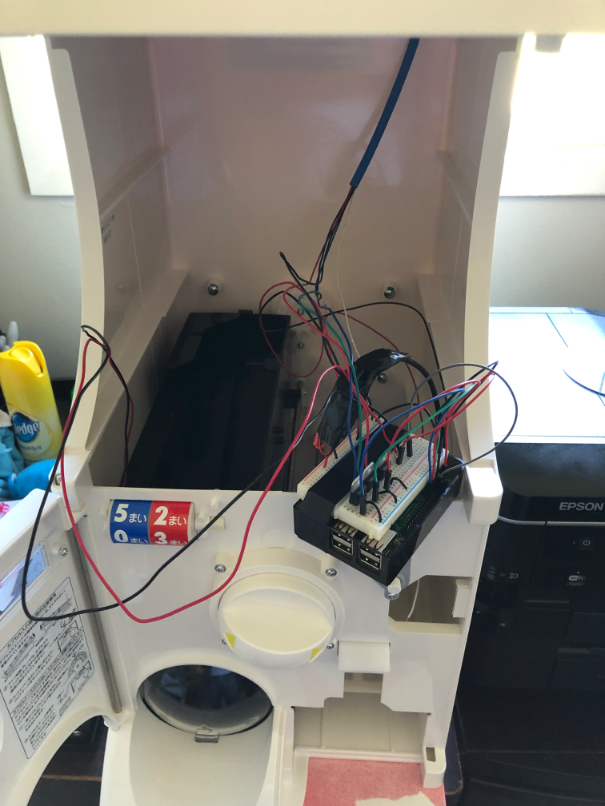
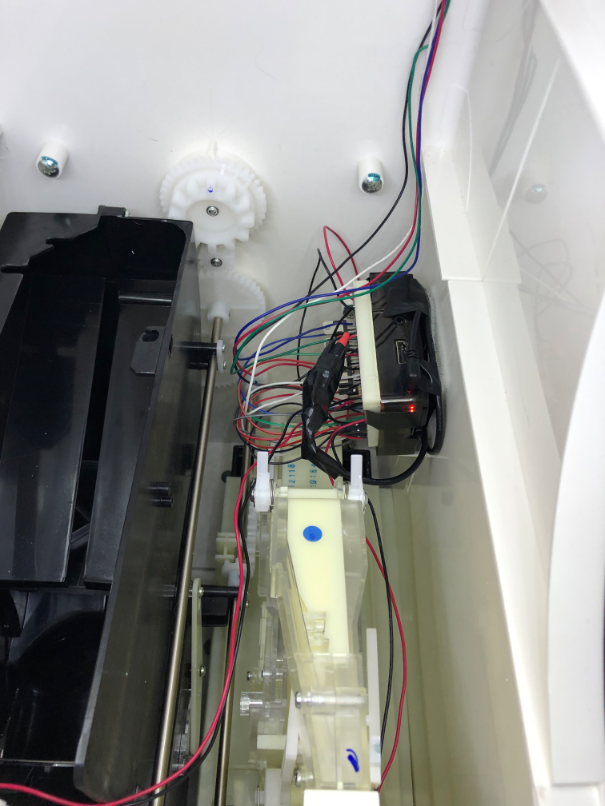
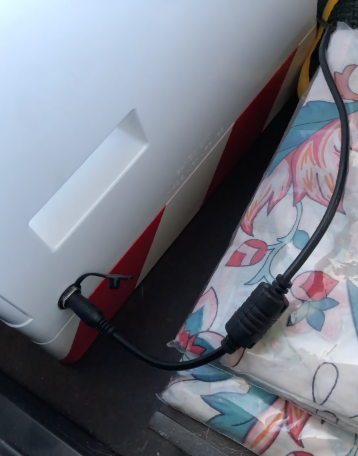
After the switches and lights were finished, I mounted the Raspberry Pi and the buck converter for the power to the inside of the cabinet. Two leads go to the door switch, two to the coin slot, and a bundle of wires for the lights. I drilled a hole out the back and found a nice power supply terminal for a clean finish. I haven’t talked software yet, but before putting anything in the machine, I wrote a node.js server that handles all the GPIO and exposes a few REST APIs plus a web interface.
With the basics out of the way, I wanted to work on an attract mode. I had a few of ultrasonic range finders in my electronics bin, so I thought I’d try one. They are fairly accurate up close, but because they rely on bouncing sound waves, they can be tripped up by different materials. Here’s a bench test before I got the falloff working well (aka poor man’s theremin).
The coin return area had a removable black plastic backer that I thought might work well to house the range finder. I’m not very skilled with a dremel, but between that and a drill I was able to carefully bore two holes that matched the range finder.
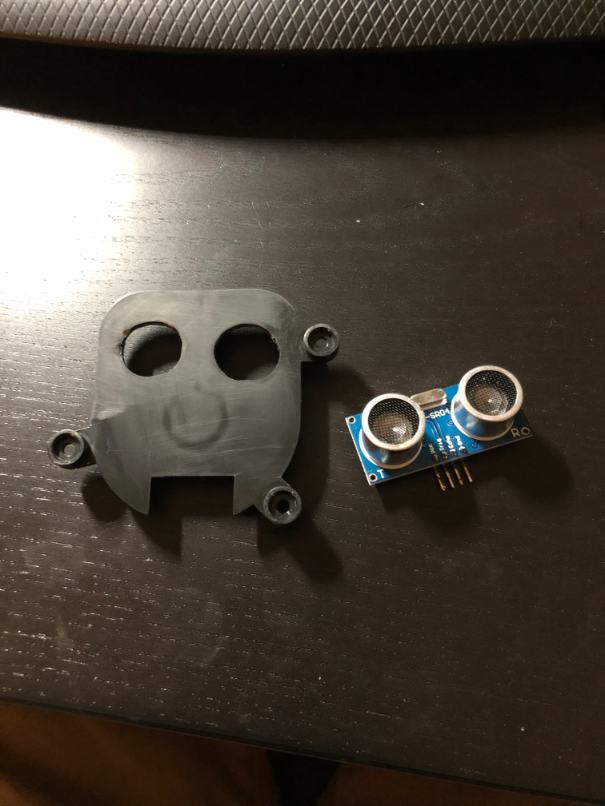
Another bonus of the range finder in the coin return area was that it looked like two little eyes peeking out 👀
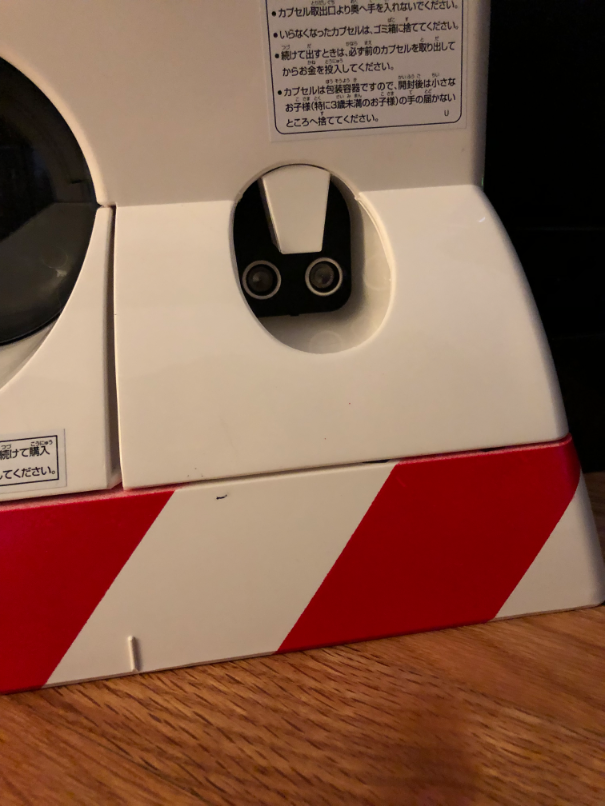
After testing the installed range finder, the results were not great. I think because the receivers were flush with the plate, there was more room for interference to build up in the coin return channel and cause errors in the range estimation. I decided to retool it and make the range finder send and receive heads proud of the plate. I had to make the wires to the range finder quite long because it was mounted to the door, which still needed to swing open. The range finder was also too tight with the existing internal coin tray, so I had to fashion a new, smaller one.
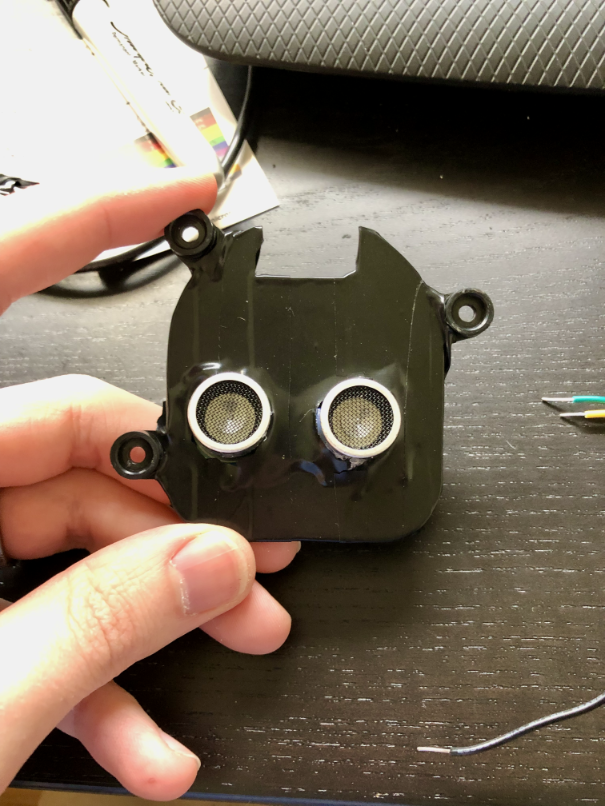
The new positioning worked well. I would need to tune the software, but the electronics were all inside the cabinet. The audio setup was pretty straightforward. I was able to find a USB-powered mini speaker that sources audio from a 3.5mm jack. With a little bit of Raspbian configuration, I could play MP3s through it.
After writing some more software and tuning the overall experience, I was finished!
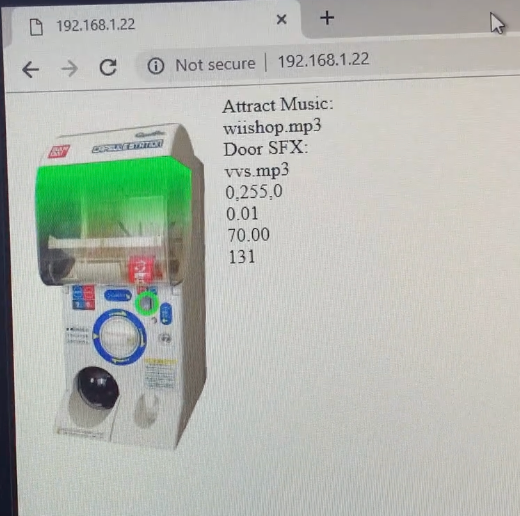
While the machine was finished, I wanted to make the software easily
serviceable. Like I mentioned, I was running a node.js server on Raspbian. I
added a front-end that would dynamically reflect the state of the physical
capsule station. In the image below, you can see the lights are on and set to
green (0,255,0) and the switch in the coin slot is triggered as indicated by
the little green circle. This web frontend also allowed people in the office to
modify sound effects and change the music. I’m a fan of the classic Wii Shop
music, but there are countless great remixes installed on the machine too. My
wife was basically driven crazy by the endless Wii Shop music while I was
working on this project.
One interesting problem for reaching the web frontend was not knowing the
dynamically assigned IP address after connecting to wifi. I knew the office SSID
and password, so I preloaded those into the Raspberry Pi while I still had HDMI
or VNC connected to it. I ended up realizing I could use the lights as kind of a
display. If you hold the door open and have a coin in the slot for 5 seconds,
the lights begin to flash. Red for the 100s place, Green for the 10s, and Blue
for the 1s. A white flash is the octect separator. So a flash pattern of
R GGGG BB W would be the first octect of 142. It was super error prone and
time consuming, but I only needed to get the IP address off of it once! In
retrospect, I could have connected to the office router from my laptop and seen
what IP was assigned, or tried to jockey for a static IP, or even better made a
named device that I could just directly go to (something I started doing
later!), but this was a whimsical way of having the machine talk to me in a way
only I could understand.
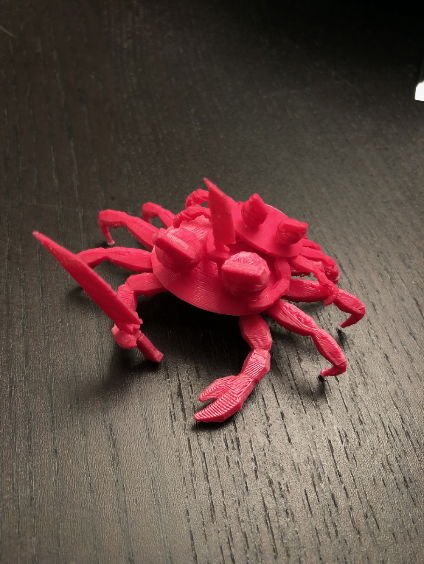
For the toys inside the machine, we were fortunate to have lots of 3D models laying around. We were a game studio after all! We were also fortunate to have Alexei, who is very experienced with 3D printing. He had recently made a game jam game called Knife 2 Meat U with a knife-wielding crab. He printed up a few of those guys, some vvs logos, and a few other FBXs he had from past games. I hope that getting custom toys from a custom machine was satisfying for visitors to the studio.
When I have the finished project in front of me, I think about how if I had seen this at the beginning, I wouldn’t have known where to start. Seeing all the complexity, and knowing all the trial and error of learning electronics along the way, I probably would not have even started to be honest. I feel this way about most projects I’m proud of. Taking things one step at a time lets me accomplish more than my abilities should allow.
I learned a lot on this project. Looking at my other electronics project up to this point, this was by far the largest and most in-depth. I had such a blast working on it and the timeline reflects that. I was working full-time on Heavy Metal, so I spent my nights and weekends on this project. The machine arrived at my house on March 23rd and by April 7th I was finished. I have omitted the botched solder jobs, burned out transistors, and other hapless mistakes during the process.